
A technician’s guide to switching automotive A/C systems to Klea Edge 444A
by Chuck Abbott, Global Marketing Manager at Orbia Fluor and Energy Materials.
As F-Gas rules continue to tighten across Europe, garages and workshops that adopt refrigerant options that keep them compliant with regulations without making life harder will gain a competitive edge.
One viable solution is Klea® Edge™ 444A. Delivering performance, economic, and environmental advantages. Here’s what you need to know if you’re thinking about retrofitting systems currently running on R-1234yf.
Klea® Edge™ 444A is a next-generation automotive refrigerant designed as a direct alternative to R-1234yf, which most modern vehicle A/C systems now use.
When the industry moved from R-134a to R-1234yf, manufacturers had to redesign systems - not just for performance, but also to deal with the shift from a non-flammable refrigerant (A1) to a mildly flammable one (A2L).
Klea® Edge™ 444A is built to work within those updated systems. It delivers performance similar to R-134a, while offering an alternative to R-1234yf that is more cost-effective and efficient in use.
It also has a performance edge in cooling, with tests showing cabin pull-down times up to four minutes faster than R-1234yf, and it does this without requiring system modifications.
From an environmental point of view, it meets current GWP requirements. Testing in controlled conditions - based on climates like Chicago, Houston, Phoenix and Anchorage - showed lower CO2-equivalent emissions per mile (18g/mile versus 20g/mile for R-1234yf). This is due to its superior energy efficiency compared to R-1234yf.
The refrigerant itself is a blend of R-1234ze(E), R-32 and R-152a, giving technicians another option that balances performance with running costs for customers.
Like R-1234yf, Klea® Edge™ 444A is classified as A2L (mildly flammable), so the same safety mindset applies when handling and servicing.
That means retrofitting isn’t just a quick swap - it needs to be treated as a controlled conversion. Done properly, it ensures safety, compliance and long-term reliability.
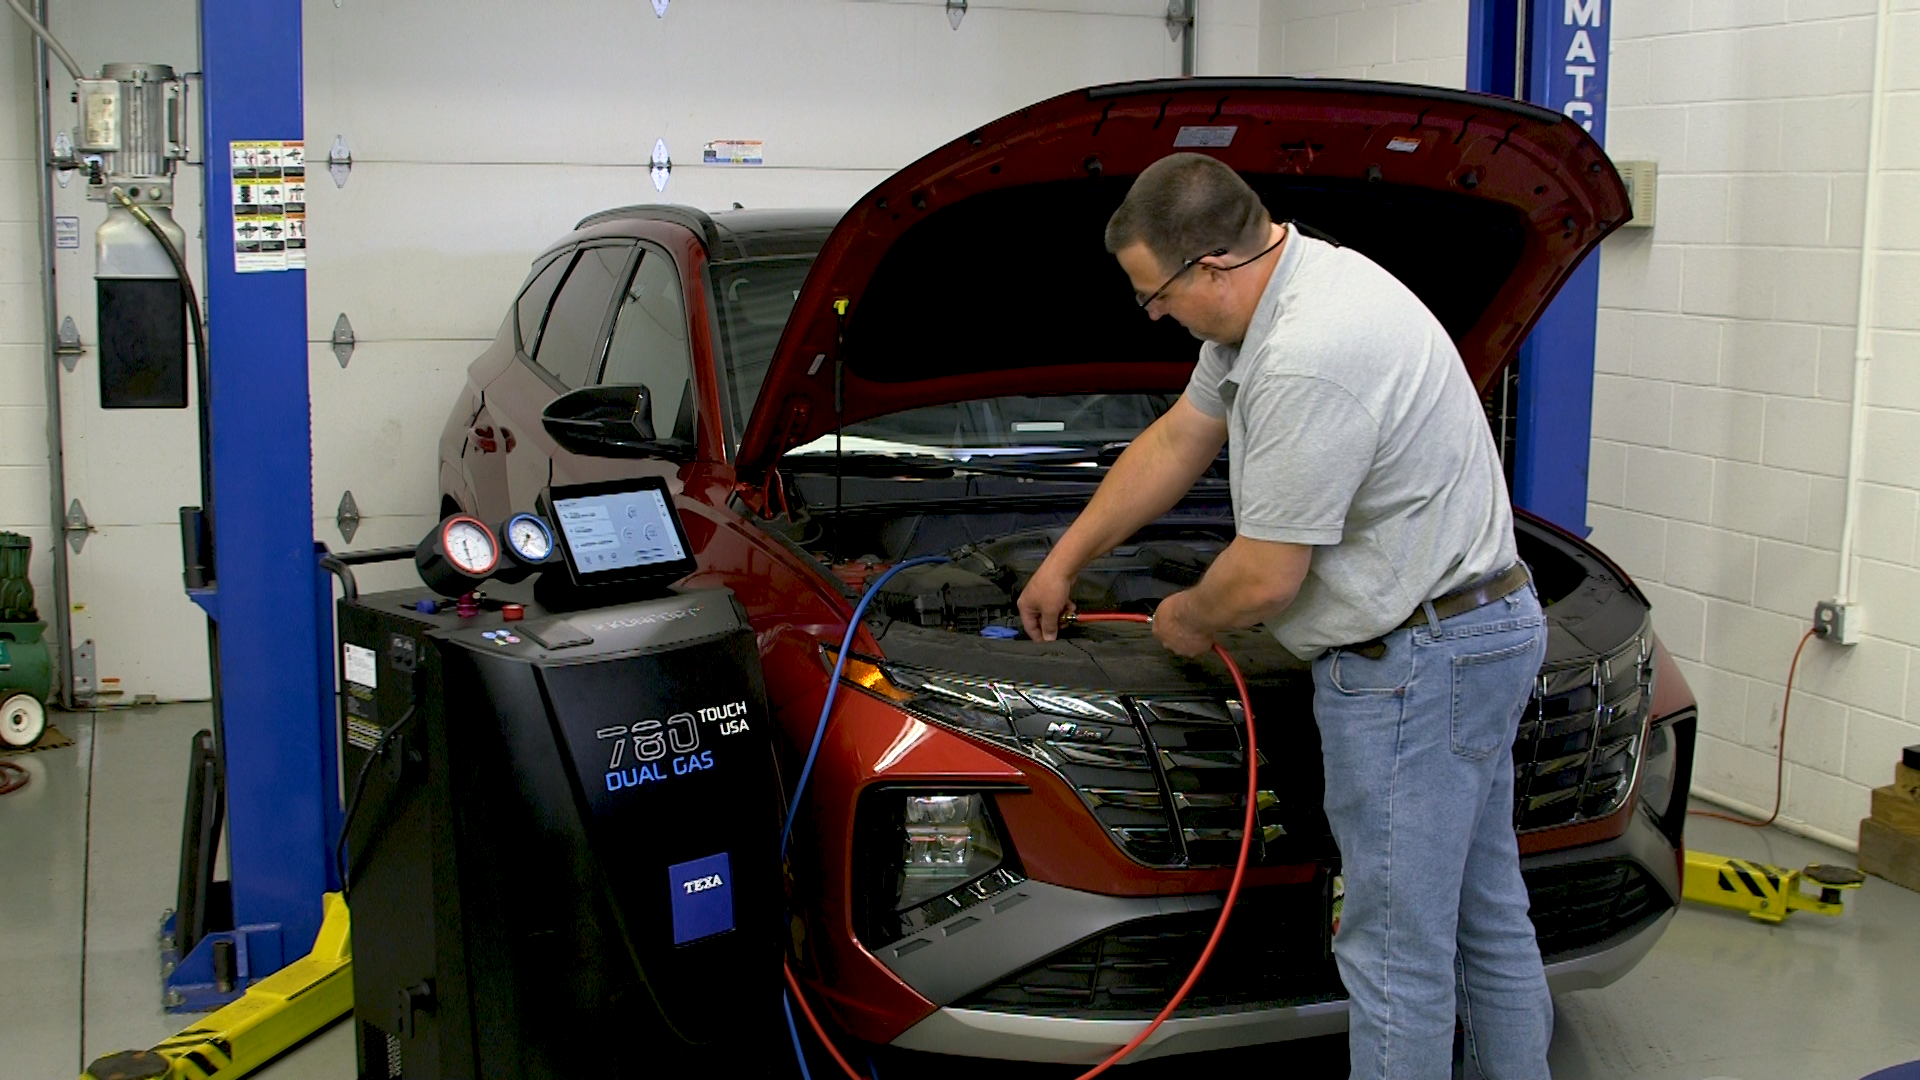
Tools and equipment – minimum requirement
To recover existing refrigerant:
An RRR (Recovering, Recycling, and Recharging) machine, or a recovery only pump and storage tank
To charge R-444A:
A gauge set
A vacuum pump
A digital scale
Step-by-step retrofit guide
System assessment
Start with a full inspection. Confirm what refrigerant is in the system, check hoses, seals and compressor condition, look for leaks, and assess the oil.
Only systems in good shape should be retrofitted – otherwise, you’re building problems in from the start.
Refrigerant recovery
Recover the existing refrigerant safely using approved equipment.
Make sure to record how much oil you remove - you’ll need to match this later.
Oil management
Oil compatibility is critical when retrofitting. Contaminated or incompatible oil should be replaced, and the system flushed if necessary. This is particularly true in the case of compressor failure.
Matching the correct oil type and viscosity ensures optimal compressor performance and longevity. In general, R-444A uses the same type of oil as R-1234yf.
Inspect and replace components
Check key service parts like the receiver-drier or filter, expansion valve and seals for wear and tear. Replace anything worn or suspect as needed.
Repairing leaks and addressing worn parts ensures the system operates efficiently and reliably after retrofit and avoids repeat jobs later.
Service port adaptation and labelling
To prevent cross-contamination, you may need to adapt service ports.
The system must also be clearly labelled. Labels should include refrigerant type, oil specification, charge amount, and conversion date, protecting technicians and vehicle owners in future servicing.
System evacuation
Next, the system should be evacuated with a vacuum pump for ten minutes, followed by a leak check.
To do this, hold the vacuum for 5 minutes. You want to make sure that less than 3 inches of mercury (770 mmHg) drops during that period - this confirms the system is leak-free and ready for the replacement refrigerant.
Charging with Klea® Edge™ 444A
Technicians should then charge the system with Klea® Edge™ 444A by weight. Always charge extracting liquid from a virgin container to maintain the blend composition.
The typical charge is similar to the original R-1234yf specification, ensuring both performance and compliance. Depending on the car model and system, the charge could be slightly lower or higher (±3%).
System commissioning
With the system charged, start the vehicle and turn the A/C on max to check high- and low-side pressures, compressor operation, and ensure the vent temperatures meet specification.
With the vehicle running and the cooling system on, close the high side coupler, allowing the high and low side pressures to stabilise over a reasonable time (1-2 h). Once stable, close the low side and remove the couplers.
If everything checks out and there are no leaks, the retrofit is complete.
Documentation and handover
Finally, record and display all details of the retrofit - refrigerant type, oil type, charge weight, technician, and date. Make sure it’s clearly labelled on the system.